
The 5 Best Builds in Mortal Shell 2
Five complete starter loadouts for five playstyles — every component chosen for a reason, every build loadable in the planner in one click.
These builds are community-tested recommendations, not developer-confirmed optimal configurations.
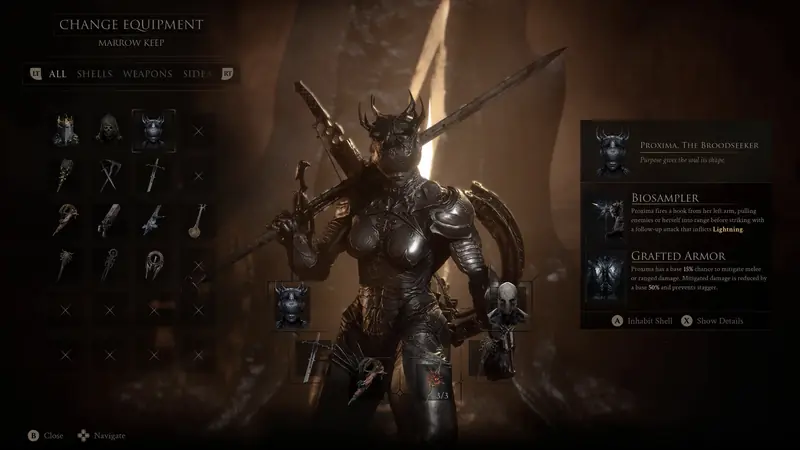
Shadow Assassin
Tiel · Axe and Dagger · Vatra's Seal
Early full-area pushes, boss speedruns, first playthrough pick
Open in Planner →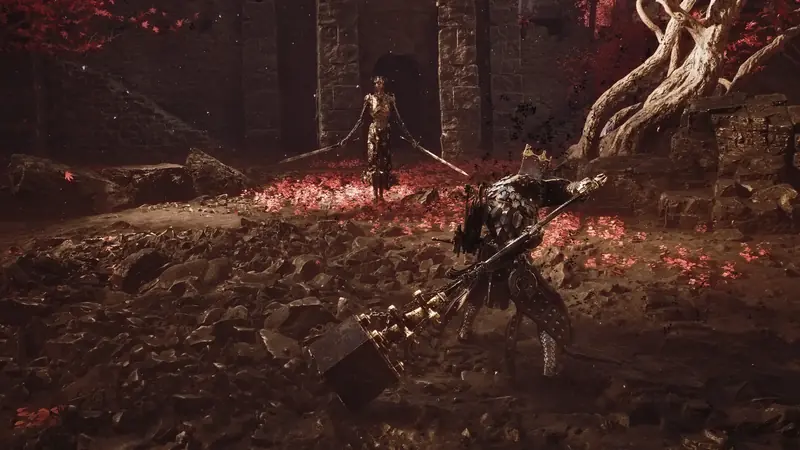
Unbreakable Wall
Eredrim · Obsidian Hammer · Untarnished Seal
First playthrough, learning boss patterns, route clearing
Open in Planner →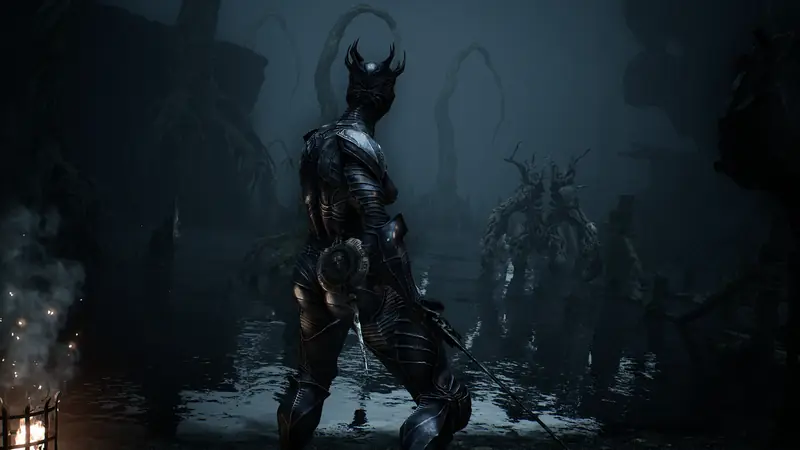
Clone Army
Genessa · Black Needle · Vatra's Seal
Boss fights, safe damage output, high-skill players
Open in Planner →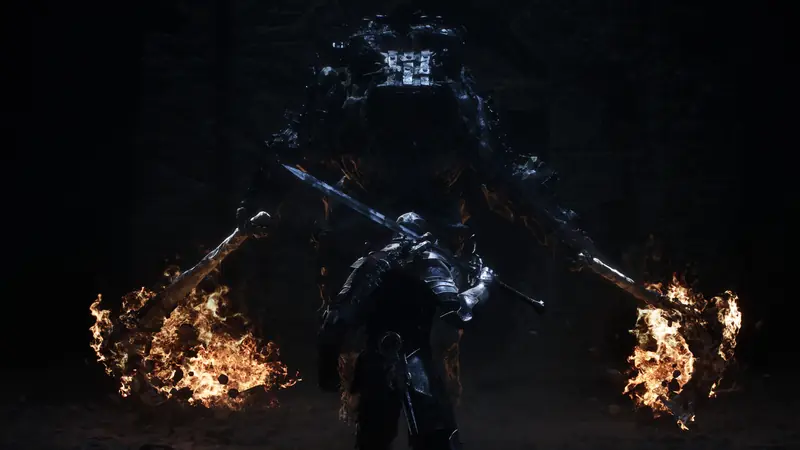
Time Lord
Smert · Axe and Dagger (any fast weapon) · Untarnished Seal
Boss-fight specialist, high risk/reward, one-on-one
Open in Planner →
Shock Trooper
Proxima · Axe and Dagger · Untarnished Seal
All-around progression, beginner first pick, exploration/gold farming, group fights
Open in Planner →Full configuration comparison
Every slot, side by side. Scroll horizontally on mobile.
| Component | Shadow Assassin | Unbreakable Wall | Clone Army | Time Lord | Shock Trooper |
|---|---|---|---|---|---|
| Shell | Tiel | Eredrim | Genessa | Smert | Proxima |
| Main weapon | Axe and Dagger | Obsidian Hammer | Black Needle | Axe and Dagger (any fast weapon) | Axe and Dagger |
| Offhand | Troubadour's Lute | Naylshotte | Caged Hystrix | Mether's Pulse | Hand of Rock |
| Seal | Vatra's Seal (Harden) | Untarnished Seal (Guard) | Vatra's Seal (Harden) | Untarnished Seal (Guard) | Untarnished Seal (Guard) |
| Support 1 | Auspicious Stone Lv4 | Bulwark Stone Lv4 | Devout Stone Lv4 | Devout Stone Lv4 | Bulwark Stone Lv3 |
| Support 2 | Headman's Stone Lv4 | Shattering Stone Lv3 | Auspicious Stone Lv3 | Bulwark Stone Lv3 | Devout Stone Lv3 |
| Support 3 | Bulwark Stone Lv3 | Retribution Stone Lv3 | Headman's Stone Lv3 | Berserker's Stone Lv4 | Shattering Stone Lv3 |
| Support 4 | Devout Stone Lv3 | Gloombound Stone Lv3 | Bulwark Stone Lv2 | Auspicious Stone Lv3 | Gloombound Stone Lv2 |
| Weapon Combat | Grudge Stone | Clerik's Stone | Duality Stone | Grudge Stone | Wounding Stone |
| Weapon Infusion | Serpent Stone Lv4 (permanent) | Wretchcaller's Stone Lv4 (permanent) | Nightgrasp Stone Lv4 (permanent) | Any (unused during Miracle) | Voltaic Crown Lv4 (permanent) |
| Weapon Ability | Acolyte's Stone | Captive's Scabstone | Shrike Stone | Any (unused during Miracle) | Infused Stone |
| Best for | Early full-area pushes, boss speedruns, first playthrough pick | First playthrough, learning boss patterns, route clearing | Boss fights, safe damage output, high-skill players | Boss-fight specialist, high risk/reward, one-on-one | All-around progression, beginner first pick, exploration/gold farming, group fights |
| Watch out | Low HP — one mistake shells out. For beginners who already learned basic Harden timing. | The most forgiving starter build. Low Resolve limits ability frequency. | Late unlock (requires defeating Sester Secundus). Extremely Resolve-hungry. | Every Miracle costs 50% current HP; Overtime snowballs. Recommend the Last Vow talent to go weaponless. | Most recommended first-playthrough build. No boss required to unlock. Generalist. |
| Load in Planner | Load in Planner | Load in Planner | Load in Planner | Load in Planner |
How to use these builds
Each build above targets a different point on the risk ↔ forgiveness spectrum. If this is your first soulslike, start with Unbreakable Wall (Eredrim) or Shock Trooper (Proxima) — both shells unlock without a boss fight and forgive mistakes. Shadow Assassin scales your damage ceiling but one mistake shells you out. Clone Army and Time Lord are late-game specialists.
Tarstone locations and the reasoning behind each support pick are in the Tarstones guide; shell rankings and unlock routes are in the Shell Tier List. To swap any component, load the build in the Build Planner and adjust from there — the share link keeps your edits.